A credit card (you will NOT be charged any money provided you follow the directions and do NOT leave your system running)
PLEASE USE A CREDIT CARD, NOT A DEBIT CARD. IF YOU DO NOT HAVE ACCESS TO A CREDIT CARD PLEASE EMAIL YOUR INSTRUCTOR ASAP!
Expectations
****Need to add here.****
Please be sure to create a Google Doc that contains screenshots with captions indicating what you are accomplishing.
This will be used to help show that you completed the project and can be used as a reference later on for you. This will also be your submission for this project.
The number of screenshots is to be determined but typically it should match the page count of the project.
Directions
Using any web browser (I recommend using a secondary browser, not your primary. If you use Chrome as your main browser, then use Firefox for the projects), go to the following site:
https://cloud.google.com/free/
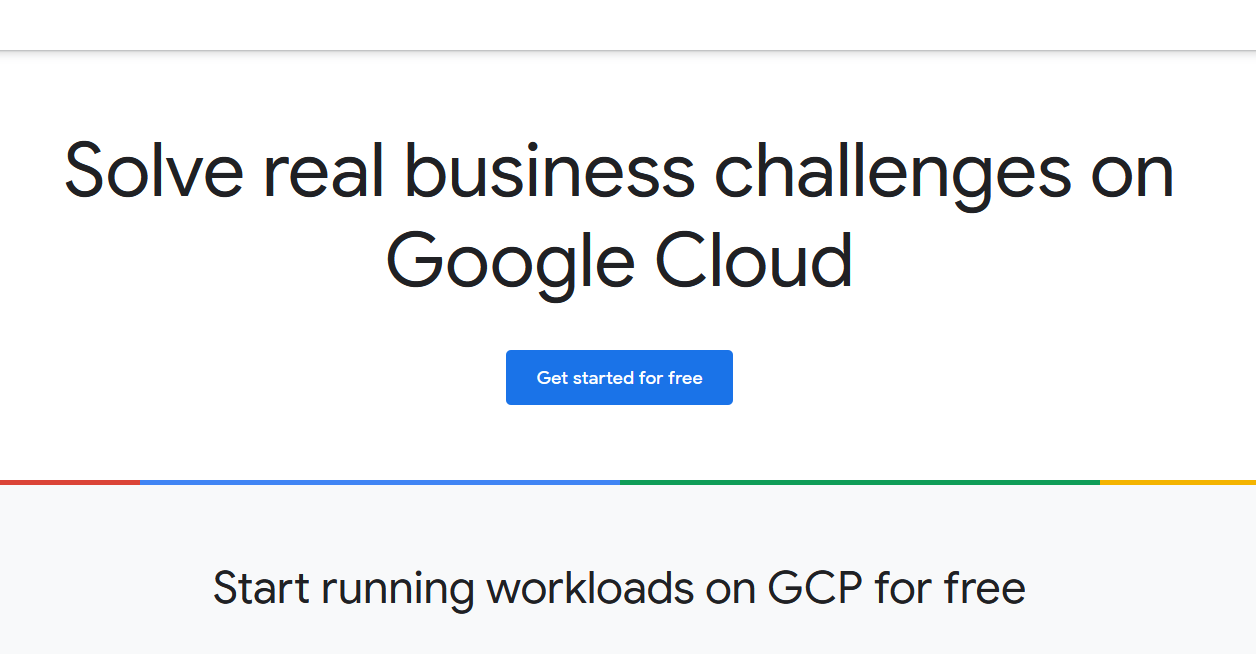
Please click on "Get started for free". Upon clicking on that, create a new Gmail account by clicking on either "Use a new account" or "Create a new account."
Again, please create a new Google Account for the projects in this course. This will be a throwaway account. You just need to make sure that I have some way of Identifying you from what you create. I will leave that up to you.
Fill in the the required information. When it prompts you for a credit card, PLEASE USE A CREDIT CARD. (Debit cards if used are harder to revoke charges should you need to do that).
You will not be charged unless you give Google permission to charge your card which means if you run out of free credit. AGAIN, PLEASE HEED THE DIRECTIONS AND MAKE SURE YOU SHUT DOWN YOUR GOOGLE CLOUD SYSTEM WHEN NOT IN USE.
Once you are signed in, you should something similar to what is shown below (you should have $300.00 worth of free credit):
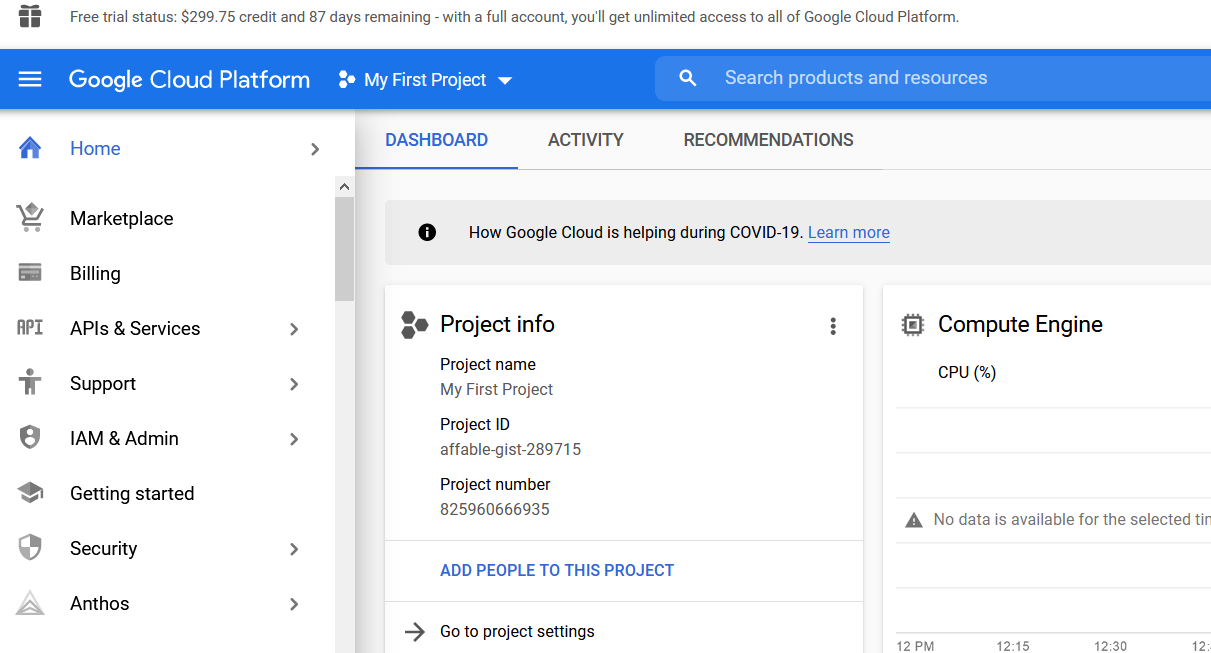
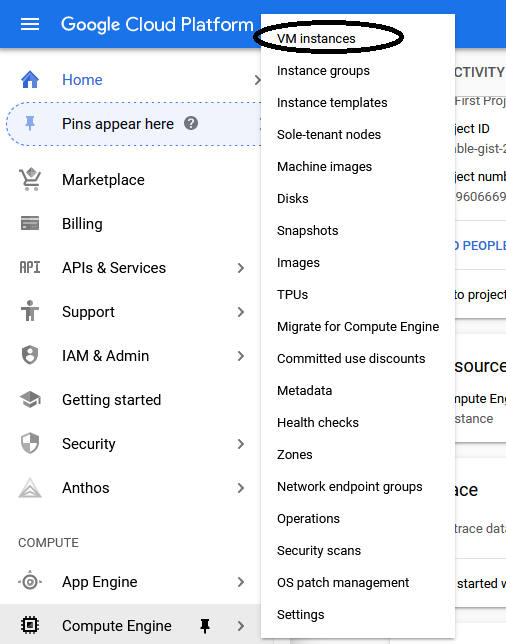
From here, you need to scroll down on the left side and find Compute Engine. Inside that menu will be something called VM Instances. See below for an example:
From here, it may prompt you about billing. If it does, just enable billing. This is a hit and miss thing with Google but again, note that it will NOT charge your credit card unless you give them permission to do so as explained earlier.
It may take VM Instances a few moments to get ready depending on how long ago you opened/created your account. Please be patient with it. When it's ready, you should the following screen:
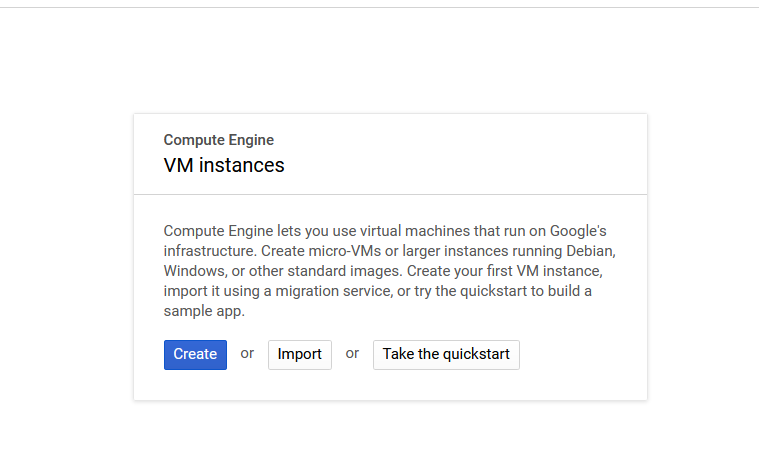
Click on the Create button. In the "Create an instance" page, enter the following:
Firewall: Check both boxes for Allow HTTP traffic and Allow HTTPS traffic
Note in the top right corner that it should show how much free credit you have remaining, and what the monthly estate would be if you ran this VM for 24/7.
Take a screenshot of this amount for proof of completion at this point in the project making sure to show the full details with the breakout costs for each part.
Click on Create at the bottom of the page. It should take a few moments to create your machine.
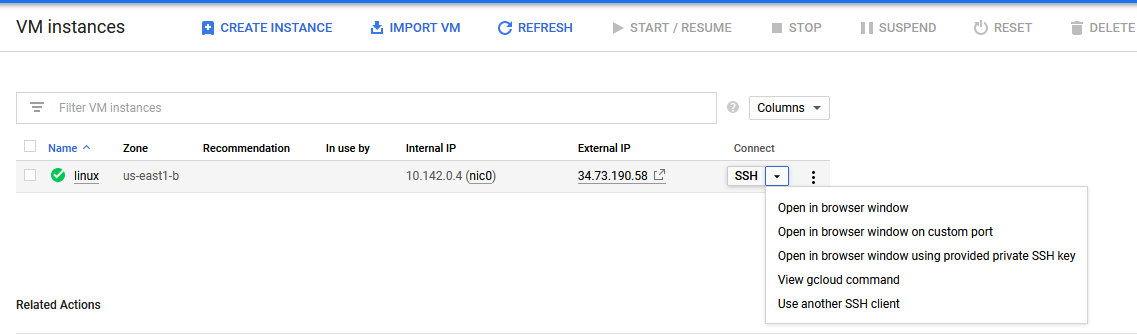
As you can from the above image, there should be one item shown named linux with a green check mark beside it. This indicates that the system is up and running.
Your IP addresses will be different than mine shown. Under the connect column, you should see a drop down that is also similar to the one shown. Click on it and choose "Open in browser window"
A new window will appear with your Linux's server console shown. It should show your newly created Gmail account instead of mine as you are the owner the system.

Take a screenshot showing your login. Use my screenshot above for reference. It should be zoomed/cropped like mine and not the FULL screen.
So far, you've created a Virtual Machine or VM for short. This VM is running in the cloud (the Internet) and you will be using this to complete projects for this course.
This VM is independent of your machine as you are using Google's computing resources to complete your work. Please DO NOT LEAVE YOUR VM RUNNING WHEN IT IS NOT IN USE!!
I will discuss later on how to power it off, but I wanted to clarify that NOW as when it is running it is using your FREE credits.
Google has stored on its servers Debian which is a Linux Operating System. If you have used Ubuntu before, you have used Debian, just not in its rawest form.
Ubuntu provides you a Desktop experience and this is just a simple server with not much loaded on it currently. As the semester progresses, you will install more on this system to utilize its full capabilities.
Google also created this snapshot of this OS a while back and it is not up to date. ANY TIME YOU ARE CREATING A NEW VM, IF IT IS GOING INTO THE PRODUCTION ENVRONMENT PLEASE MAKE SURE ITS UP TO DATE.
(As you can see from my image this was created back in July 2020)
To update your system, type the following and press Enter:
sudo apt update
The term "sudo" is short for SuperUser Do (Administrator if you have been using Windows and Mac machines) which tells Debian "SuperUser Do open the Advanced Packaging Tool and perform an update".
In laymen's terms, you just asking the system to perform updates and install them.
The screen will go line by line installing the latest updates found at the Debian repository found at debian.org.
From here, type in the following pressing Enter after each command below:
sudo apt install hwinfo -y
sudo hwinfo --disk

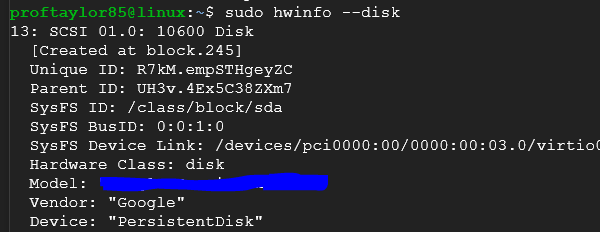
Hwinfo is a software package that displays information about the hardware found on your system. By typing in the command and adding the "-y" to it, you are telling the system that you are sure you want to proceed.
Otherwise you would have to type y after the command was hit.
You should see with the second command what kind of hard disk you are running.
Take a screenshot showing what your model is.
Once you are done, please do the following to shut down your VM. Remember, do NOT leave it running unless you have a reason to.
It will use your credits up that you will need for the semester. This is the only warning I will provide about this.
From here, click the X in the corner to close your connection. It may prompt you to Leave Page which is a just a confirmation that you want to close access to it currently.
THIS DOES NOT SHUT DOWN THE VM. Go back to your Google Cloud Platform site.
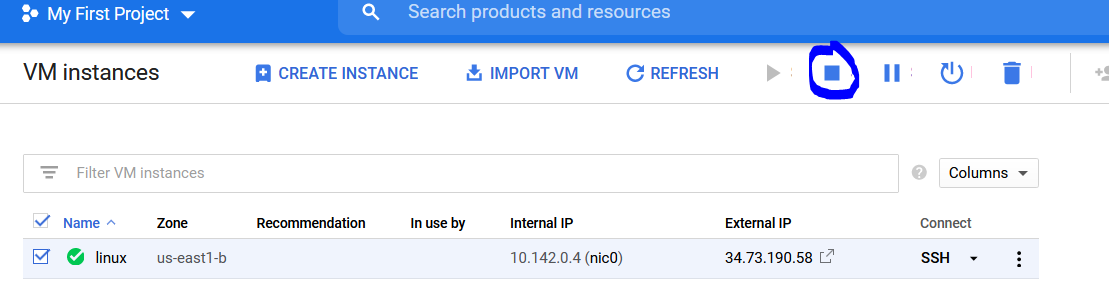
Click the checkbox for "linux" and click on the Stop square as shown above. It will prompt you to make sure that you are wanting to shut it down.
Choose STOP to shut it down. Once it is shut down (this may take a few moments) you should see the following:

Notice how there is no green check mark beside it anymore. This means the system is shutdown. Your free credits for the processing of data will not be used. You may notice that it may decrease even when the system is not in use.
This is the small cost to keep the VM stored on Google's infrastructure. This will not exceed your free credits.
This concludes Project 03. With this project you've learned how to set up a Linux VM. PLEASE MAKE SURE YOU ARE SHUTTING DOWN YOUR VM EACH TIME UNLESS YOU ARE LEAVING IT RUNNING FOR A TASK IN THE COURSE.
Please make sure to submit your project as instructed by your instructor by it's due date and time.
Created in previous years, drafted online in January 2021