You will need the following to complete this assignment:
****Need to add here.****
Please be sure to create a Google Doc that contains screenshots with captions indicating what you are accomplishing. This will be used to help show that you completed the project and can be used as a reference later on for you. This will also be your submission for this project. The number of screenshots is to be determined but typically it should match the page count of the project.
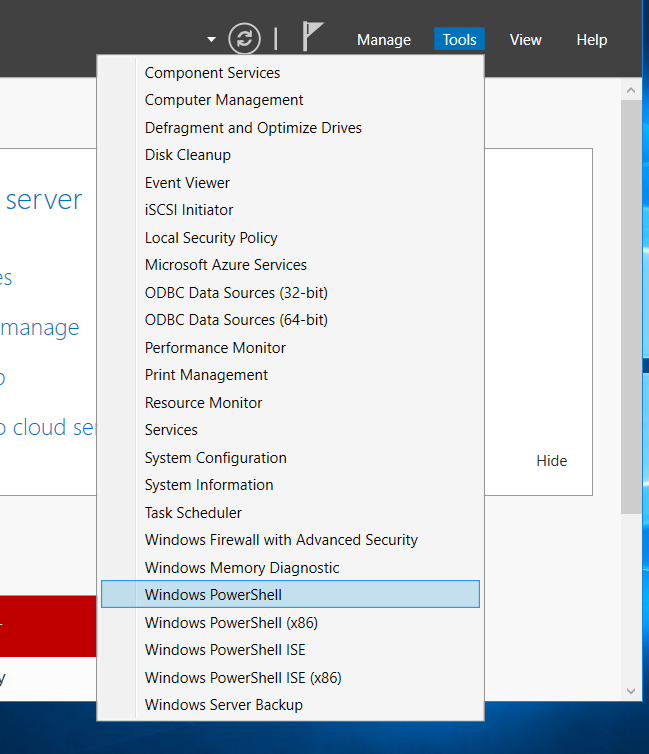
Now that we have our machine up and running, we will need to disable automatic updates. In a normal environment, you would want to have updates, but for our purposes, we don't need them. On your Server 2016 machine, you need to open the Server Manager if it isn't already open. Click on Tools → Windows PowerShell.
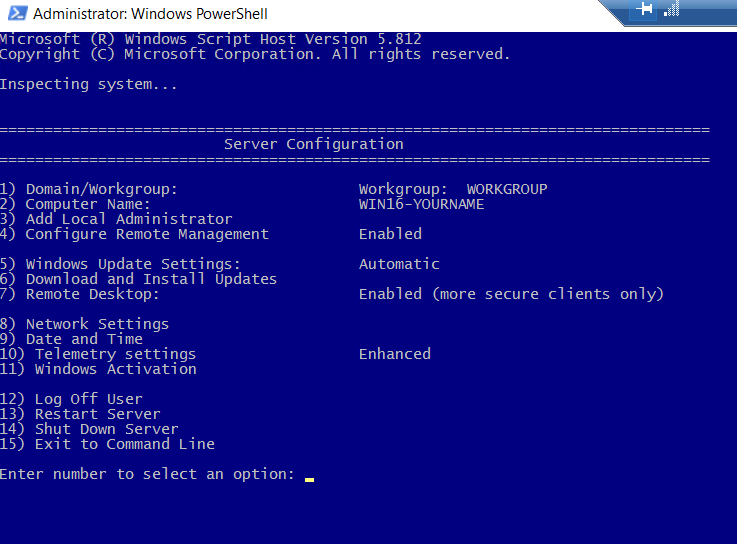
In PowerShell, type in the following command:
sconfig
The following window appears. We need to change option 5 to from automatic to manual updates.
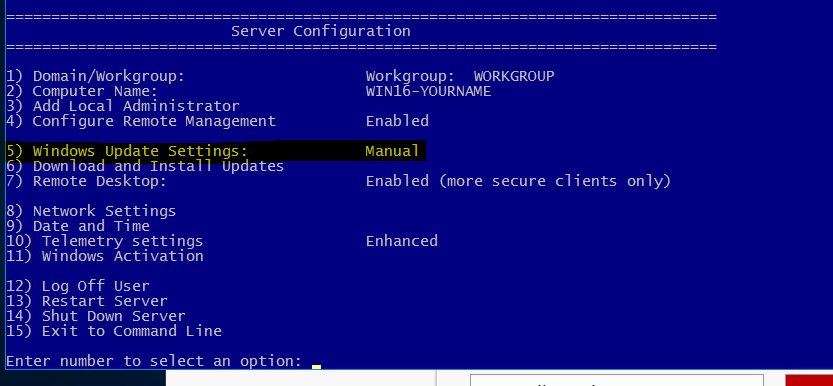
Enter 5 and type m. It should look like this once you have made the changes. A box may pop up noting that "Windows Update set to Manual. System will never check for updates." If so, please click OK. Notice the highlighted area for reference once the configuration has been changed.
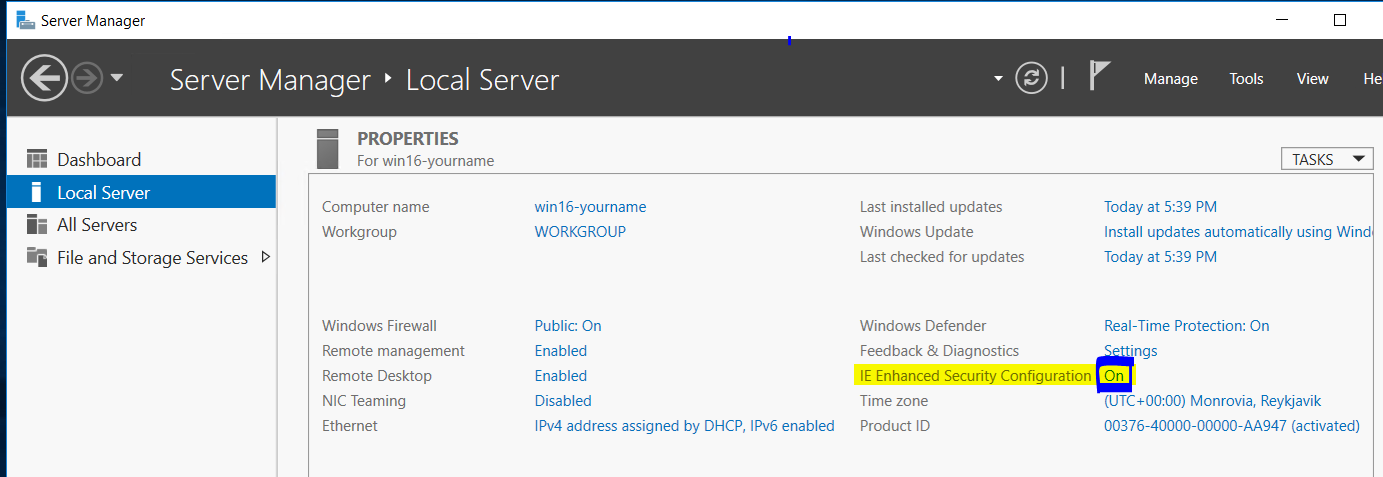
You can close the PowerShell Window now. The other thing we need to do is disable Internet Explorer's Enhanced Security Settings. These are designed to lock down the browser which is a good thing, but since this will be used primarily for a victim machine, we will need Web browsing capabilities.
Go back to the Server Manager and click on the left side Local Server. From here look on the right side of the screen for IE Enhanced Security Configuration and note that it is on by default. Click on the word On.
In the new box that appears, click both Off buttons as shown below.
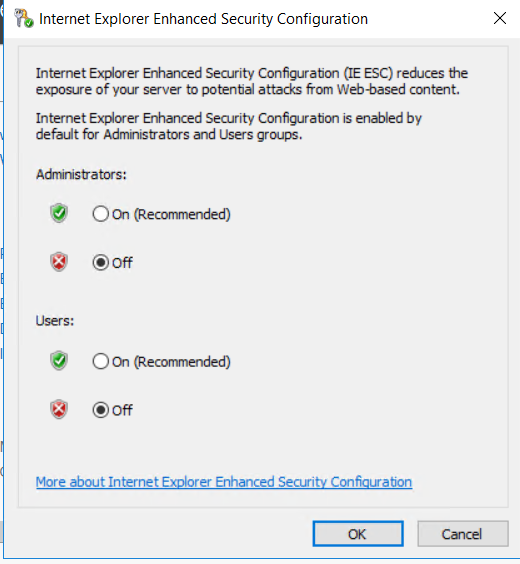
Click on OK.
This is the new part of the project, so pick up from here if you have completed the above steps.
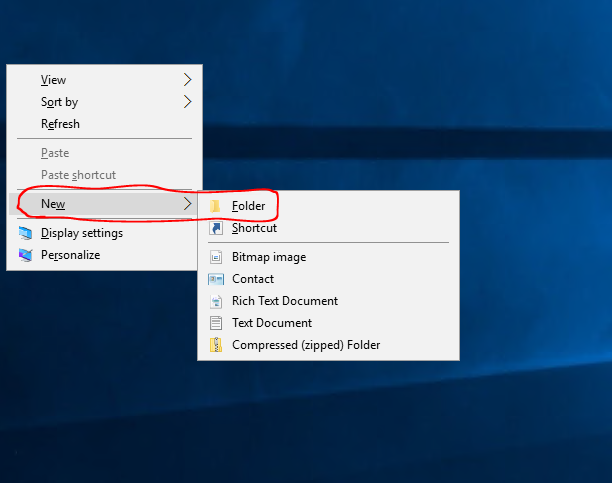
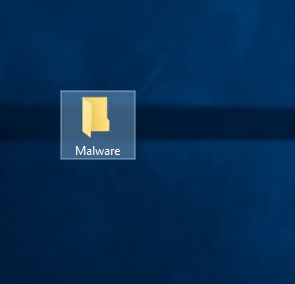
On your Windows Server 2016 Desktop, let's create a folder called Malware. This will be used to hold all of the malware files we will be using for the course. On your Desktop of Windows Server 2016, right-click and choose New → Folder. Name the folder Malware.
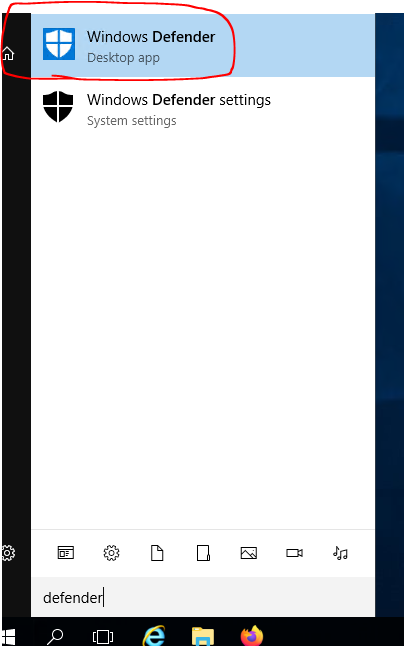
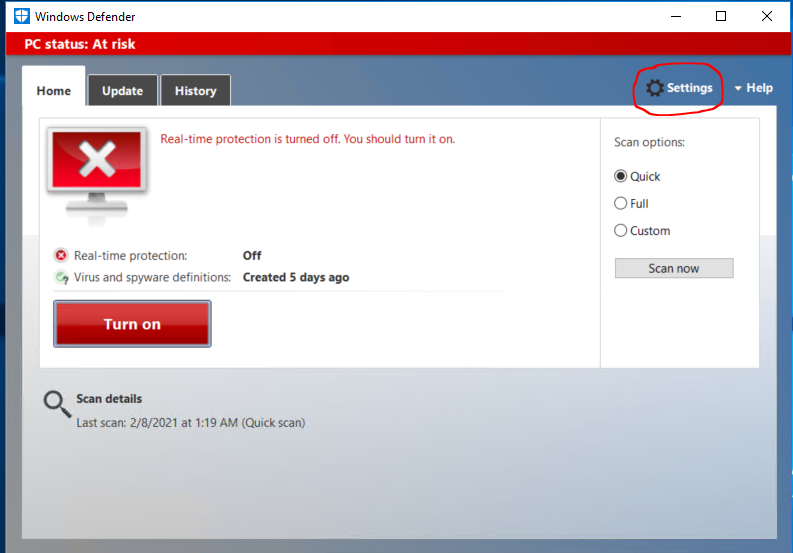
Even though our Windows Defender is off from a previous project, let's look at adding this as folder as an exception for Windows Defender to ignore. Again, this is designed to give you more options and understanding of the Windows's OS. Look at your Start menu. Click on it and type defender.
Once it's open, go the Settings.
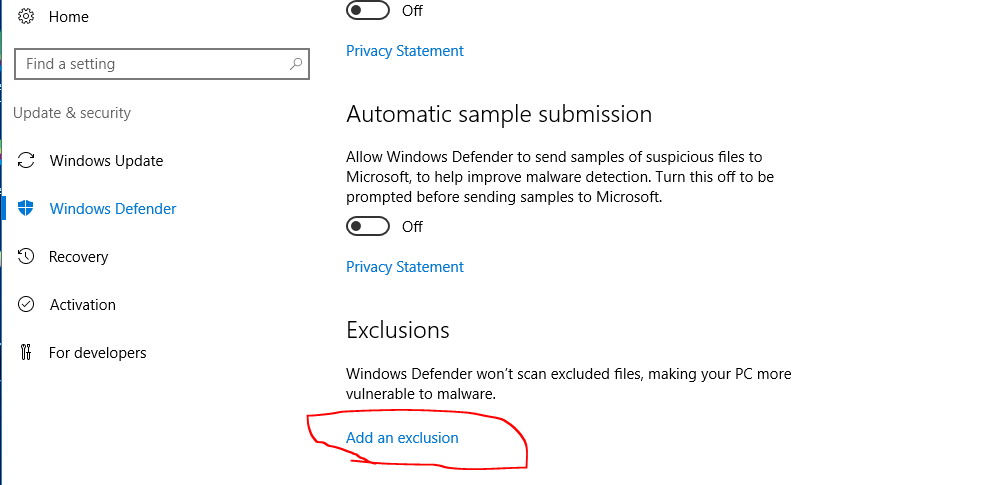
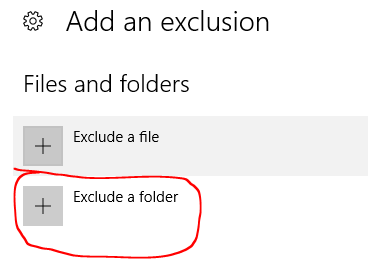
A new window will open. In the settings menu, find the Exclusions section and click on Add an exclusion. Next choose Exclude a folder as shown below.
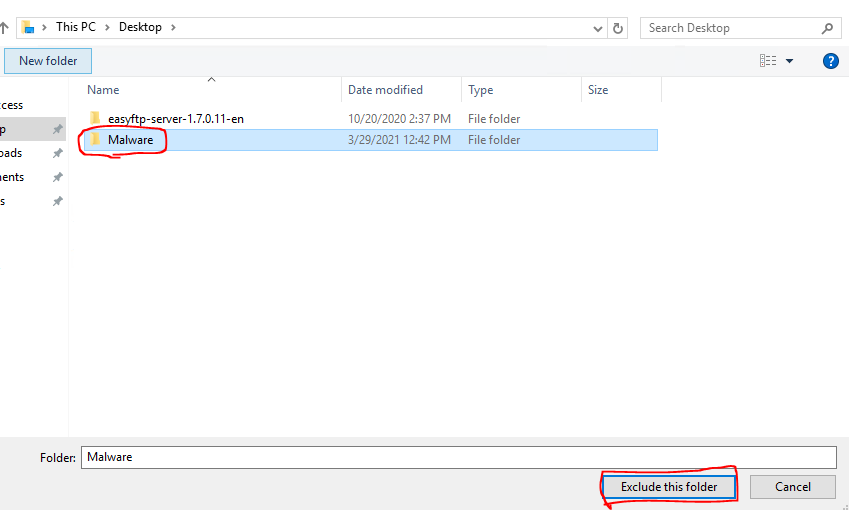
Navigate to the location of your Malware folder and choose Exclude this folder. Remember in a real environment, you would not do this and this would be a place to check on Windows if someone was running malicious software.
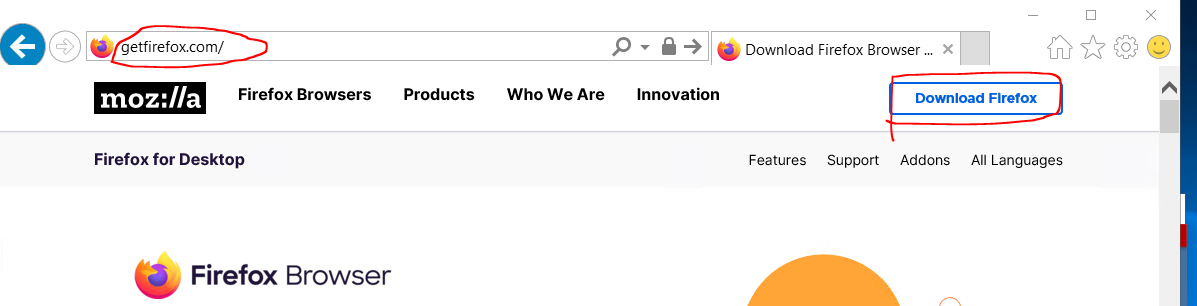
From here, using Microsoft Edge proceed to https://getfirefox.com and click on the Download Firefox.
Choose Run to start the program. Run it with default options.

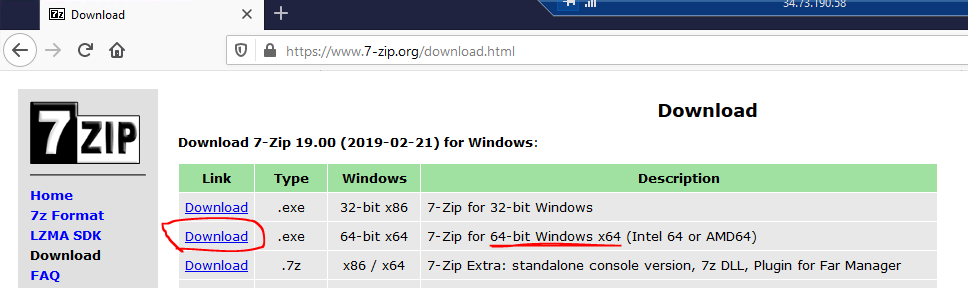
From here, open up Firefox and go to https://7-zip.org and click on the Download link next to the Windows 64-bit version. See the images below for more information.
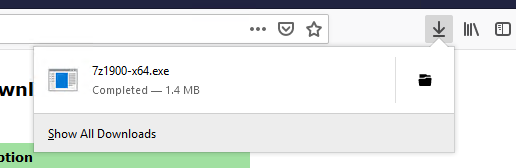
Navigate to the downloads section in the top right and click on the file to install. Again use default parameters/options.
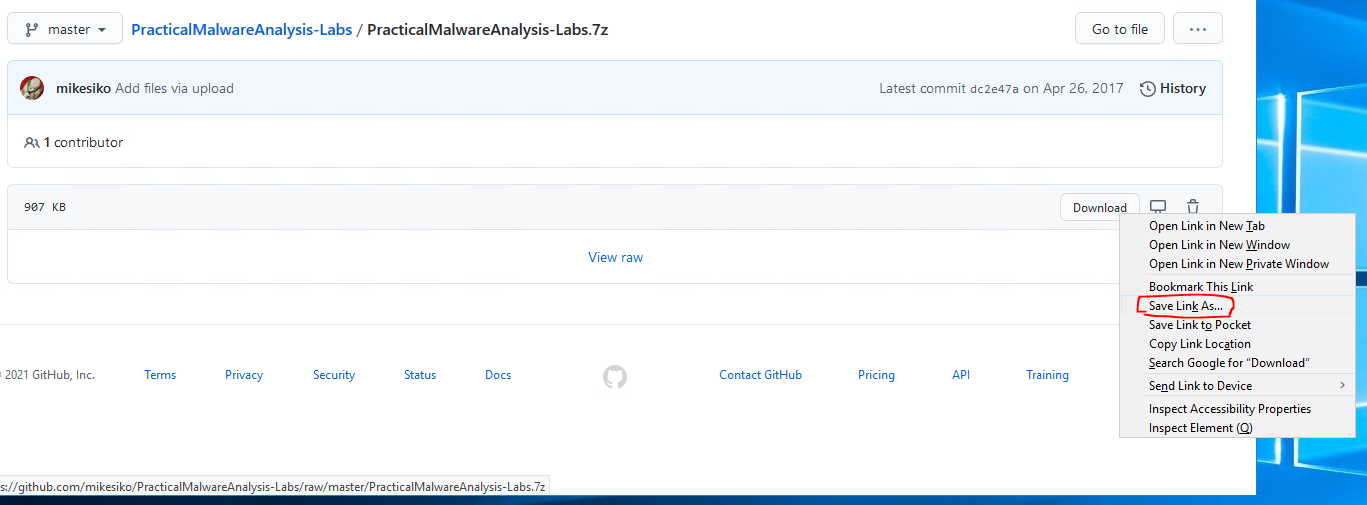
In Firefox on Windows Server 2016, go to https://github.com/mikesiko/PracticalMalwareAnalysis-Labs. On this page, click on PracticalMalwareAnalysis-Labs.7z.
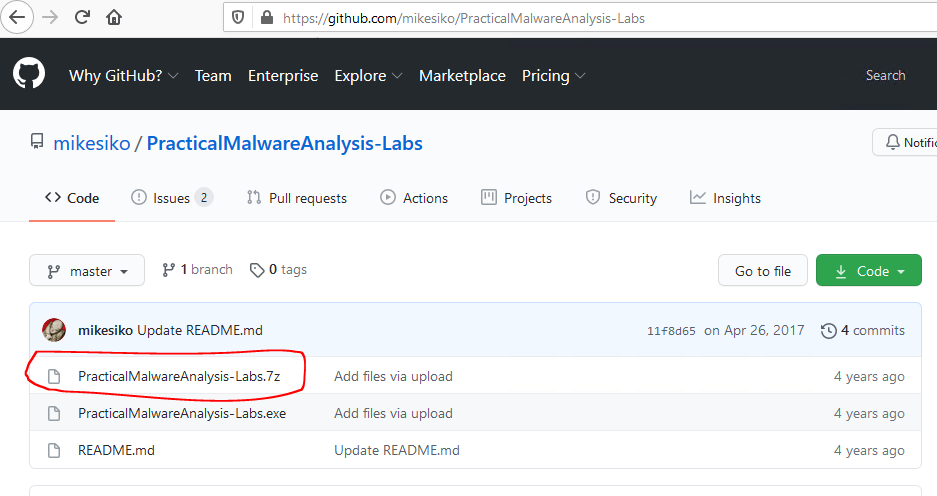
On this page, find the Download button, right-click it, and choose Save Link As. DO NOT CLICK THE DOWNLOAD BUTTON TO DOWNLOAD IT as the system will mark it as malware and we need to save it in the folder that has the exclusion on it.
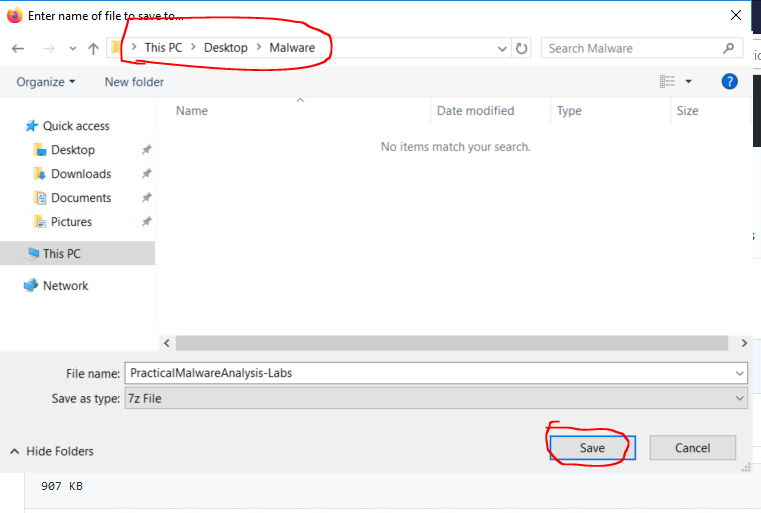
Navigate to your Malwarefolder on your Desktop and choose to Save it there.
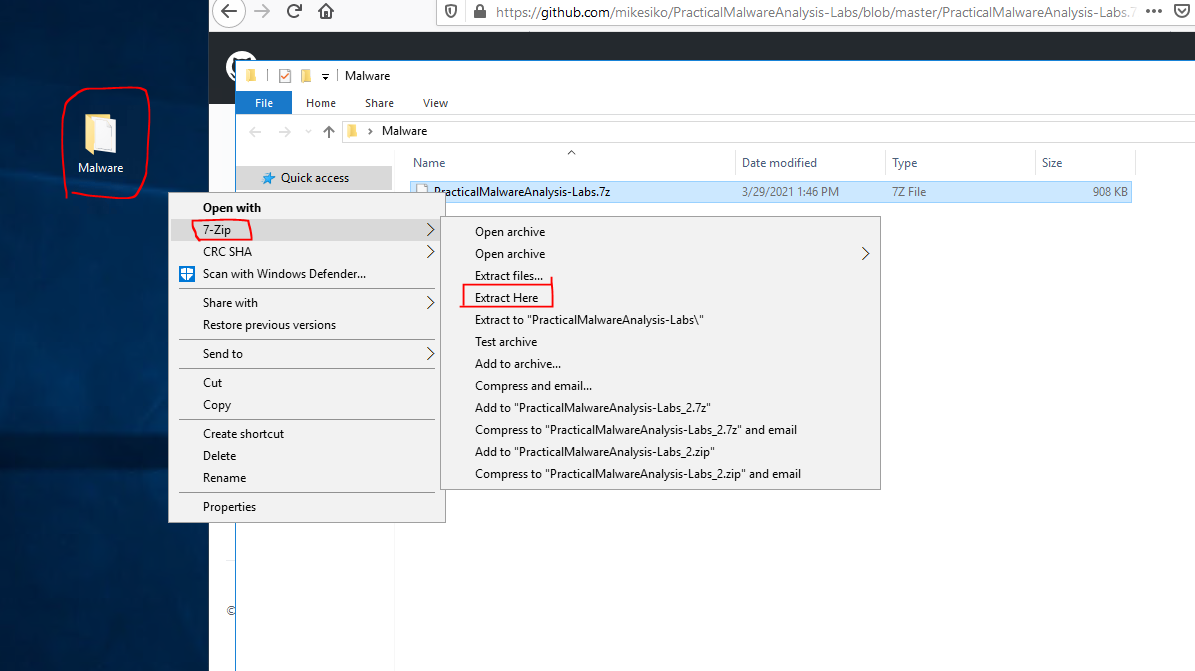
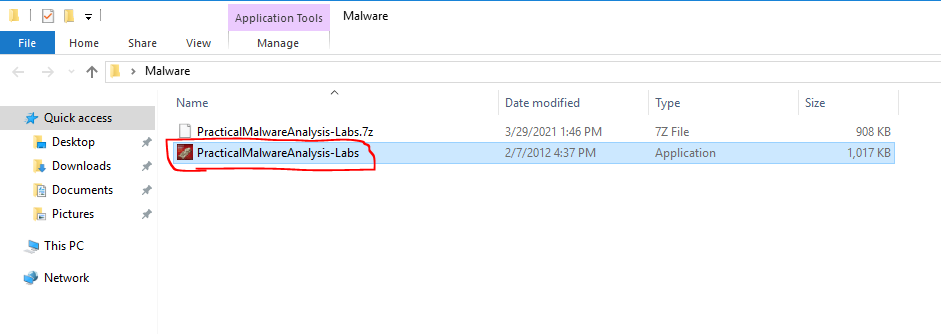
From here, double-click on your Malware folder on your Desktop, right-click PracticalMalwareAnalysis-Labs.7z and choose 7-Zip → Extract Here.
A new window will appear asking for the password. If you look back on the main github page, the author of the program indicates that if you choose the 7z file, it will have a password on it called malware. Enter that in the textbox,
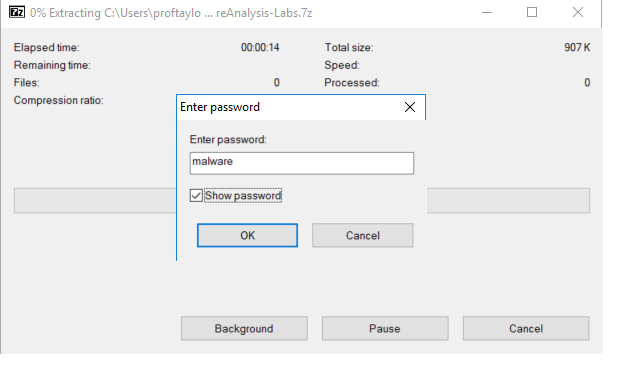
A new file will appear in your Malware folder. Double-click on that file to install the malware analysis labs.
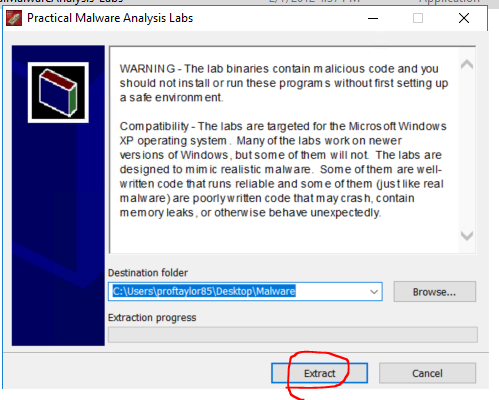
Install it with the default options by choosing Accept. The last window will be the Destination of where to install it. Choose Extract.
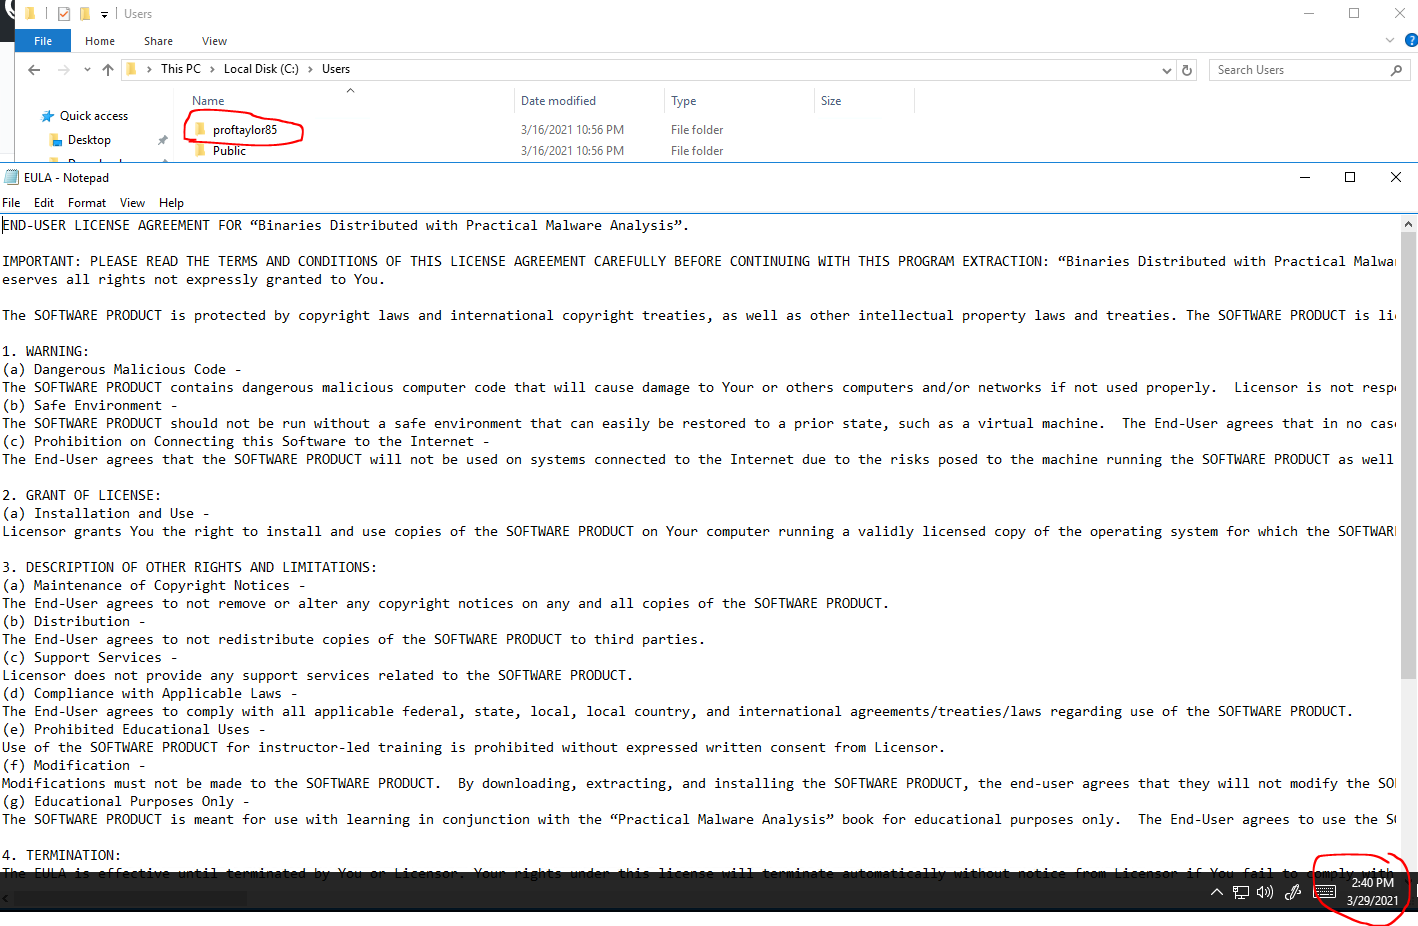
For proof of completion take a screenshot showing the EULA for the PracticalMalwareAnalysis-Labs. In this screenshot, you need to show your Users folder with your name shown and the date/clock in the corner. Use my screenshot below for reference.
This concludes this project. PLEASE MAKE SURE YOU ARE SHUTTING DOWN YOUR VM EACH TIME UNLESS YOU ARE LEAVING IT RUNNING FOR A TASK IN THE COURSE. Please make sure to submit your project as instructed by your instructor by it's due date and time.