You will need the following to complete this assignment:
****Need to add here.****
Please be sure to create a Google Doc that contains screenshots with captions indicating what you are accomplishing. This will be used to help show that you completed the project and can be used as a reference later on for you. This will also be your submission for this project. The number of screenshots is to be determined but typically it should match the page count of the project.
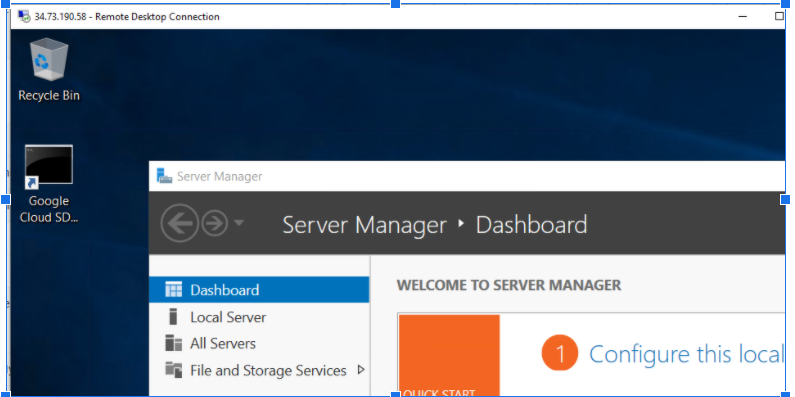
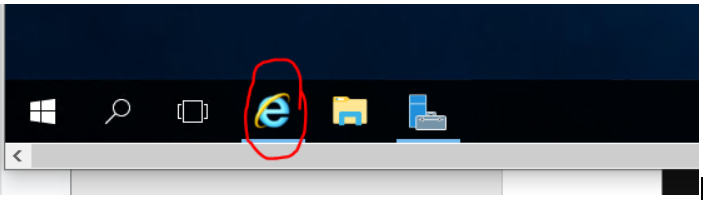
One of the first things to do is go and install a more friendly web browser. Find Internet Explorer (IE) at the bottom near the Start menu.
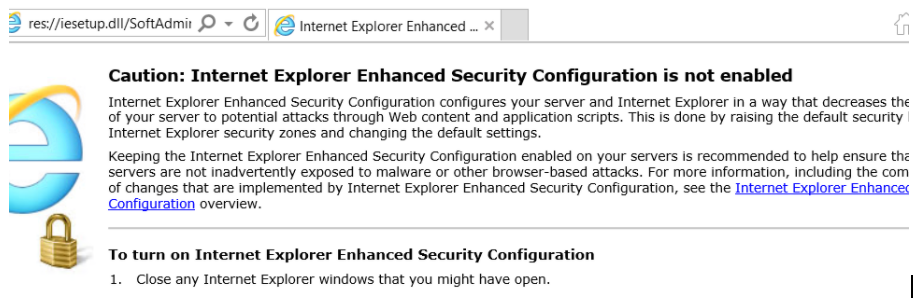
Open it and be sure that it says that Enhanced Security Configuration is not enabled. See below:
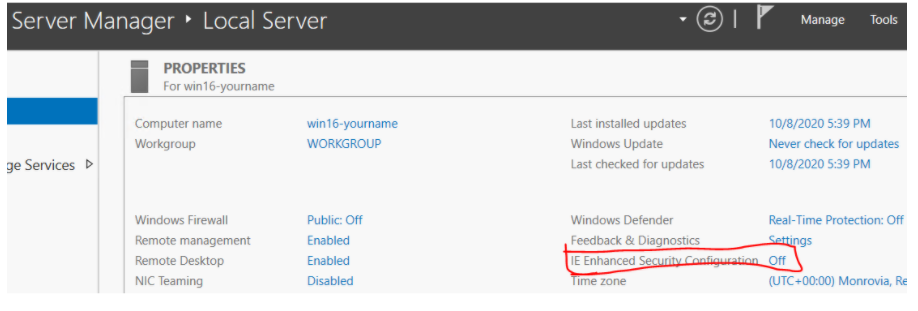
(If it is enabled, you will need to go into Server Manager → Local Server and disable it. Use the screenshot below for reference. It will show Off if it is disabled)
In your IE web browser, go to the Firefox download page. You could use Chrome but it will flag a lot of messages and some pages will have compatibility issues. Firefox download Look at the bottom, choose Save and once it’s downloaded, choose Run. Install it with default configurations.
Once it’s complete, it should open.
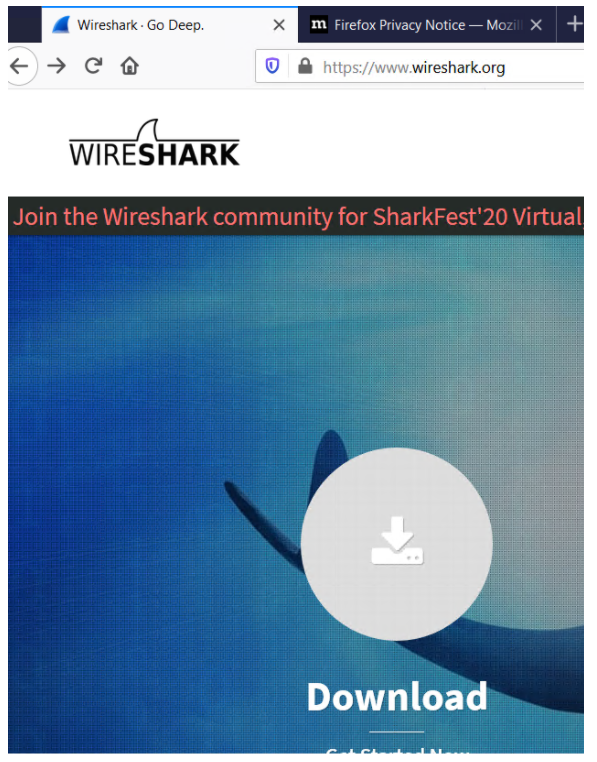
Now that we have a modern web browser, lets go toWireshark and download the latest version. You have a 64-bit operating system.
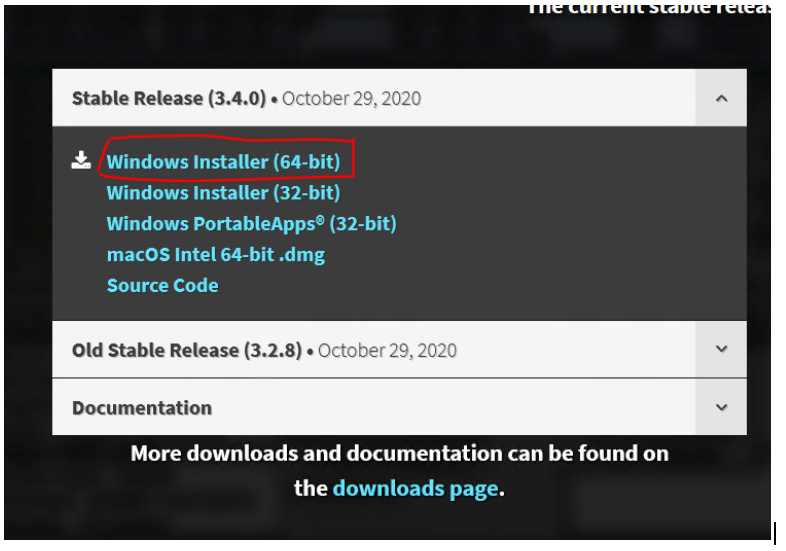
Please install it with all of the default options. There will be SEVERAL windows to agree and accept. Again, use the defaults and choose OK or Next as appropriate.
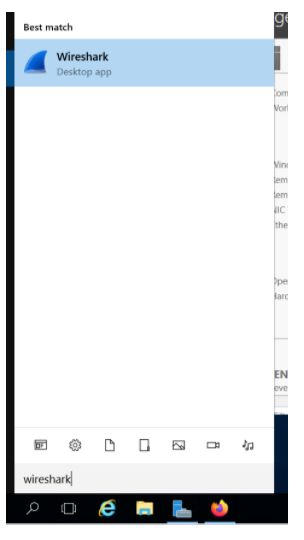
Once everything is installed, search under the Start menu for Wireshark. Open it.
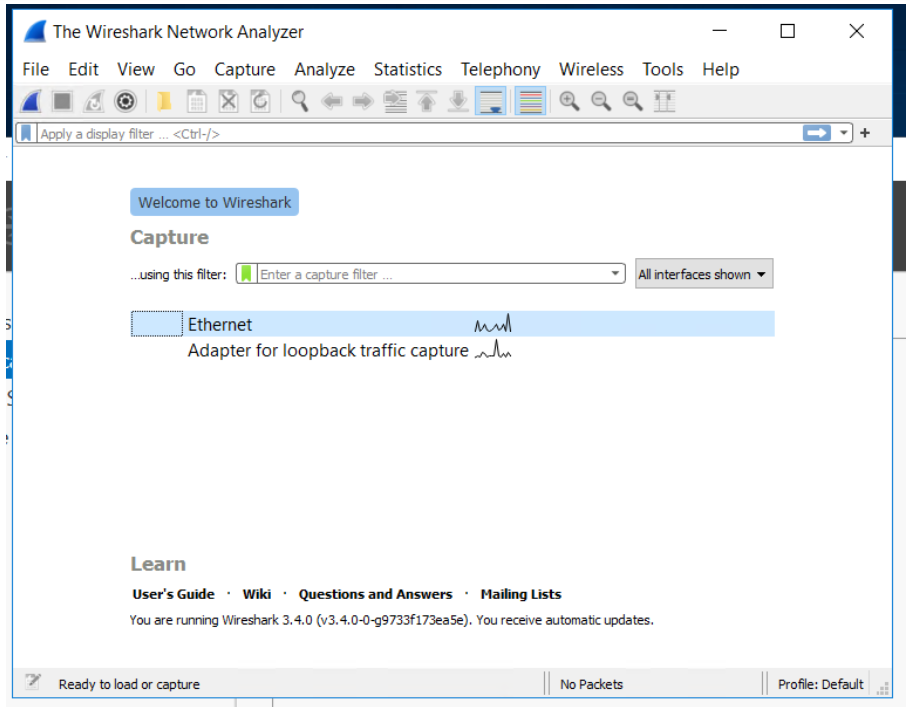
You should be prompted with a screen similar to the one above. Under the Capture area, you should see a list of available adapters that you can monitor. If you are currently doing anything with your network, you should notice that one or more of your adapters has traffic by looking at the bar graph. To illustrate, if you look at the picture above, you should see that all of the adapters have no traffic or interactions occurring except for the Ethernet adapter, where it would appear that network traffic is occuring.
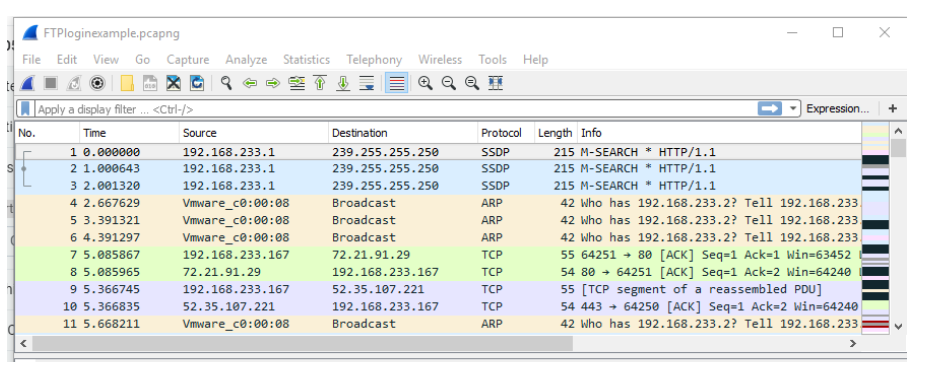
Now that you can easily identify where traffic is coming from, let’s look at a sample FTP login. Look on AsULearn for a file called ftploginexample.pcapng. You can do this by logging in through Firefox on your Windows Server 2016 OR you can have it on your host system (your physical computer) and use the copy and paste method into Windows Server 2016. Open it in Wireshark. You should see the following:
This is an example FTP login that was created using easyFTP (from your previous project). Let’s look at a few items closer. In the filters search box, type in tcp. If you capitalize it, it will not work. You should see a green dialogue box for a "good" filter and a red dialogue box for a "bad" filter.


Scroll down once you have put in the filter to entries 21 through 26. You should see a the following:

The top pane as shown above with entries 21-26 is what is referred to as the Packet List. As the name implies, it lists out every packet that has moved on the "wire" or network. Notice how with entries, 21-23, you should see something very interesting. What are you looking at?
Capture a screenshot of yours (which should be very similar to mine) and detail what is taking place in list entries 21-23.
The middle pane is the packet details, which are showing the first four layers of the OSI model. Notice how layer 1 shows the frames/byte and bit count. Remember this is the physical layer. Next is the data link layer, which is showing the Mac address of the system. Layer 3 shows the IP addresses followed by layer 4 which show the source and destination ports.
The lower pane is the packet bytes, which shows the raw data in hexadecimal format and ASCII forms. Hexadecimal is another numbering system (think of binary (base 2) or decimal (base 10)). Hexadecimal is base 16 meaning values will be anything from 0-9 and A-F, where the value A is 10, B is 11 and so on until you reach F which is 15 (or the 16th entry in the list from 0-15). ASCII (pronounced “a· skee”) is a standard that all systems understand and it’s a way to take the numerical representation that the computer understands and be able to print the characters that we understand. Use this website for further understanding: Ascii Table
Now that you have a better understanding of how to read the data contained within, let’s look at a very insecure protocol called FTP. Back in the filter box, remove the "tcp" filter and type in "ftp". You should get the following:
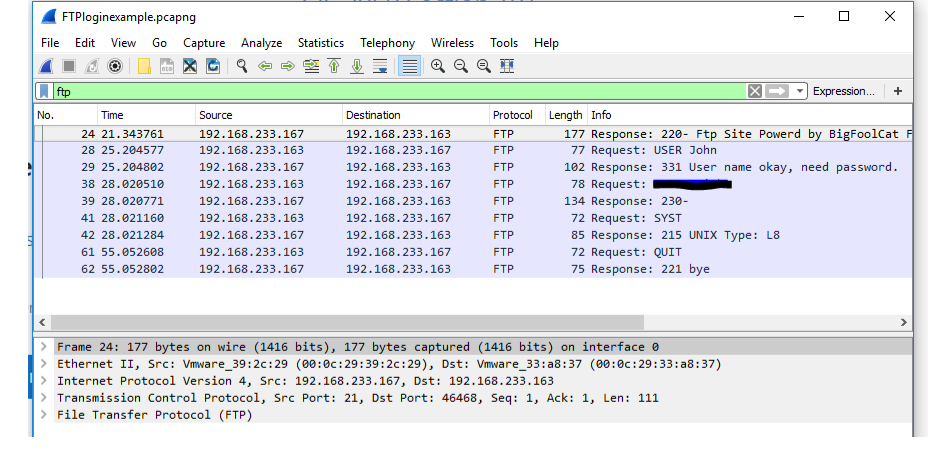
As you can see from your results, the username and password are in cleartext. Take a screenshot showing the username and password in cleartext.
Now let’s look at an HTTP Password. As you might imply, HTTP also sends passwords over the network without encryption. Look on AsULearn for a file called httploginexample.pcapng. Open it in Wireshark. You should see the following:

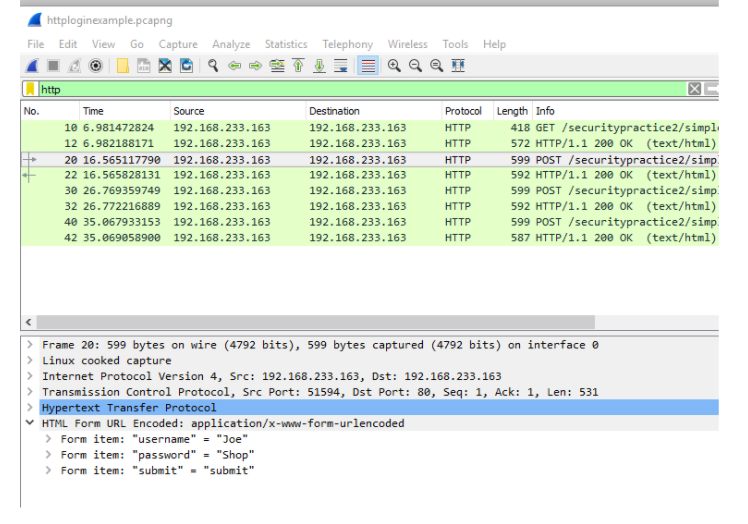
In the filter box, type in http. Just like with ftp, be sure that you are using lowercase letters. You should the see the following now:
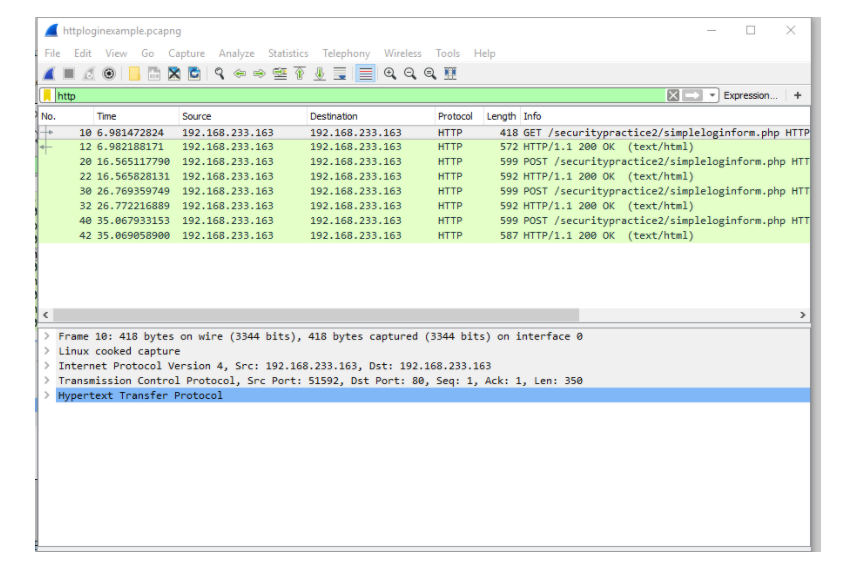
From here, highlight No. 20 and expand out the Hypertext Transfer Protocol so you can see the username and password shown. The username is Joe and the password is Shop.
Let's dive deeper into the packets shown. Navigate your mouse back up to where it says POST on No. 20, right-click it and go to Follow → TCP Stream. The following window should pop up.
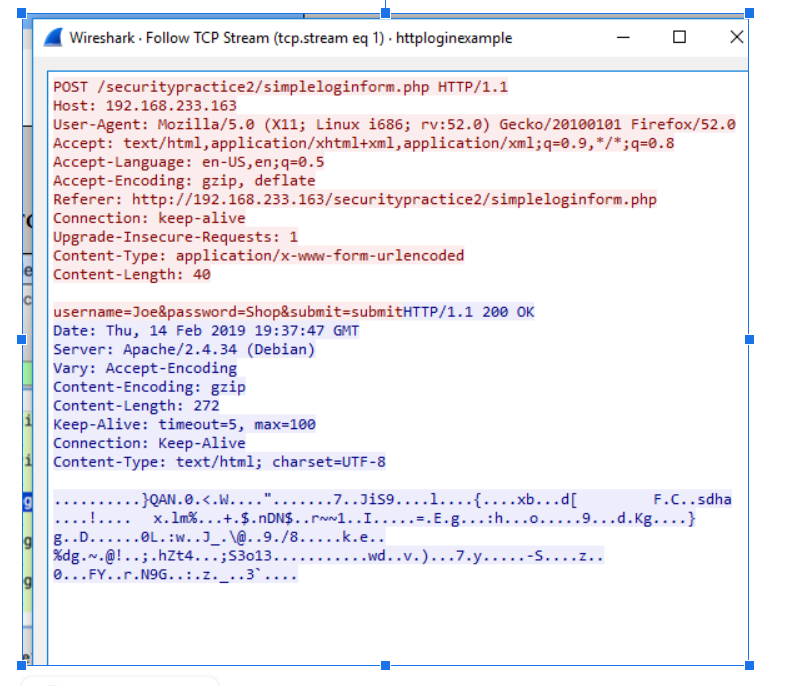
The conversation is shown with the client's transmission in red and the server's response in blue. Usually you can find very helpful information in the digest (all of the stuff under Content Type) but in this case, it has been zipped so it's unreadable.
Let's switch into viewing the HTTP Reply now. Close the Follow TCP Stream box and remove the filter from the filter box. Type in http again to see only the http packets. Click on packet No. 22. You should see the following under Line-based text data.
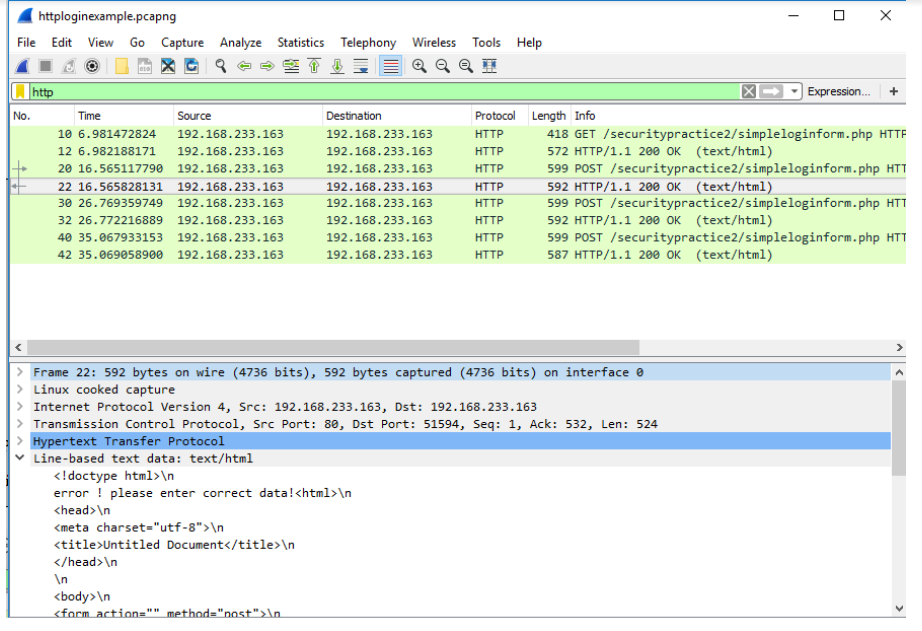
Notice how it says "error! please enter correct data!". This means the user entered the wrong credentials. Look through the remaining packets. Also, take note of the arrows with these matching packets on the far left in the Packet List pane. These show that No. 20 and 22 are the matching pairs of the sent and the reply HTTP packets.
Find the packet with the correct username and password shown. Take a screenshot showing the correct credentials. Also provide another screenshot showing the correct message displayed when the user logs in correctly.
In the above examples, the login was being passed through the HTML of the web page via form fields (login boxes as example). This is a very insecure thing to do as everything is sent in cleartext as a response.
Lastly, let's look at how a simple type of authentication can be used in HTTP. Look on AsULearn and download a file called basicloginexample.pcapng. The basic authentication obfuscates passwords with the Base64 encoding scheme before it attempts to transmit them across the network. Base64 is an encoding scheme that attempts to hide the data by regrouping it into six bits at a time instead of eight bits. To illustrate this, here is a quick example of how that works. Take the word "human" which is expressed in ASCII and make some conversions. The word "human" in binary would consist of 40 bits/5 bytes as each letter is made up of eight bits. Let’s start with "h". Using the ASCII table from earlier, we can see that "h" is 104 in decimal. Take 104 in decimal and convert it to binary. Binary as a refresher is a way to express a value only using two options (0 or 1). 0 means that value isn’t present, and 1 would mean that it is. Whichever values are present, you just add them together to get the total. Since its represented using binary it would look like the following:
| Totals | |||||||||
|---|---|---|---|---|---|---|---|---|---|
| Decimal Values | 128 | 64 | 32 | 16 | 8 | 4 | 2 | 1 | 64+32+8=104 |
| Binary Equivalent | 0 | 1 | 1 | 0 | 1 | 0 | 0 | 0 |
So "h" in binary is 01101000 or it's easier to initially read as 0110 1000. You would repeat this for the letters of "u" "m" "a" "n". All together it would be the following:

From here you would put all of these binary values together which would read 0110100001110101011011010110000101101110 which is a lot to look at. Base64 takes six bits and reworks them in the following way:
A-Z are values 0-25, a-z are values 26-51, 0-9 are values 52-61, and + and – are 62 and 63. Padding, which is extra fluff that is added in when the values don’t even out is represented as =. So by rearranging into six bits here is how they would be broken down.

| Totals | |||||||
|---|---|---|---|---|---|---|---|
| Decimal Values | 32 | 16 | 8 | 4 | 2 | 1 | 16+8+2=26 |
| Binary Equivalent | 0 | 1 | 1 | 0 | 1 | 0 |
So the first group of six equals 26, therefore in Base64 that would be "a". Below is a breakdown of each group of 6. Remember, 0 is letter A.
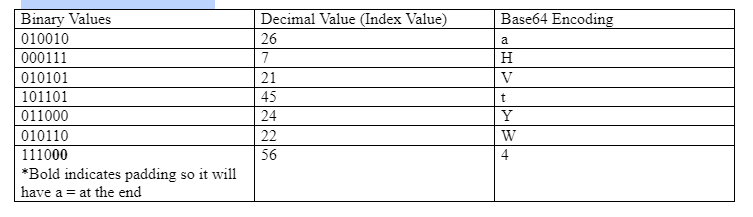
So "human" in ASCII is "aHVtYW4=" in Base64.
Using the example above, write out your first name in ASCII, the binary and decimal values for it and then encode it in Base64 and provide the new binary and decimal/index value for it followed by the encoded portion. Use the explanation from above and tables to showcase that you understand how it works. There are online calculators that can assist you with this, but you need to demonstrate that you understand the concept here.
Now one of the nice things is that Wireshark will automatically decode it once it finds it. As you may recall from the previous discussion, we were looking at HTTP packets and the user was sending their username and password through HTTP via form fields in the HTML on the web page. Now they are using an extra step to attempt to hide their credentials. Basic access authentication is a way in which a web browser can provide a user name and a password when making a request of a web server, instead of passing the information through the web page. What this means is that the HTTP Header when using basic authentication, uses a field called Authorization: Basic and the credentials are encoded using Base64. You can use filter http and find it but it could take a while if you had countless log entries. You can also search via the frame (the container that has the HTTP header information in it.) As example, you can type in frame contains auth and it will bring the following packets back:
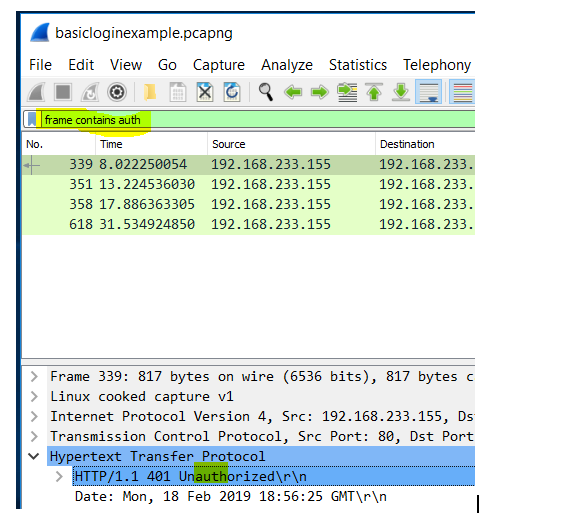
Notice how it found a frame containing 'auth' within it? Your task will be to open the file basicloginexample.pcapng and find a user called ELITE and their password.
Find the packet containing the correct credentials shown. Take a screenshot showing the credentials in plaintext. Also include the search filter you used to find it. As a hint, use 'frame contains' to find it.
This concludes Project 09 on Wireshark.
References
Wireshark
Ascii Table